The Moment of Truth
You've sourced clean grain, hydrated it precisely, sterilised it for a full 120 minutes, and cooled it overnight. The bags are sitting on your bench, pristine and sterile, ready to become something extraordinary. And now you're about to open them up and introduce biology. which means introducing risk.
Inoculation is the step where your sterile technique matters most. Every second a bag is open, every movement of air in the room, every surface your tools touch is a potential contamination vector. I don't say this to scare you. I say it because understanding the risk is what makes you take the precautions seriously. Once you've done this a hundred times, it becomes muscle memory. But the first dozen times, be deliberate. Be slow. Be methodical.
My contamination log tells a consistent story: roughly 60% of my contamination events over the past two years trace back to inoculation errors, not sterilisation failures. The grain was clean. The technique was sloppy. That's a fixable problem, and this chapter is about fixing it.
Contamination Source Analysis (2024-2025)
Grain quality/hydration: ~20%
Sterilisation failure: ~10%
Post-inoculation handling: ~10%
Based on 340+ bags with detailed contamination tracking.
Still Air Box vs Flow Hood
The two main approaches to creating a clean working environment are a still air box (SAB) and a laminar flow hood. Both work. They work differently, cost differently, and suit different scales of operation.
Still Air Box (SAB)
A still air box is exactly what it sounds like: a large, enclosed box where the air is still. Contaminants in the air are carried on convection currents and air movement. Eliminate the movement and the contaminants settle out of the air column onto the bottom of the box, away from your work surface. It's low-tech, cheap, and surprisingly effective.
I used a SAB exclusively for my first 18 months. My contamination rate during inoculation averaged 5-7%. not spectacular, but workable. The SAB was a 60-litre clear plastic storage box from Wilko (£8) with two arm holes cut in one side. I flame-sterilised those cut edges, added a strip of draught excluder foam around each hole, and that was it. Total cost: about £12.
The critical technique with a SAB is: do not move quickly inside the box. Every fast hand movement creates air turbulence that picks up settled contaminants and carries them back into the air column. Move slowly and deliberately. Imagine you're working underwater. It feels ridiculous at first, but it works.
Laminar Flow Hood
A flow hood pushes HEPA-filtered air across your workspace in a smooth, laminar (non-turbulent) flow. Anything downstream of the filter is bathed in clean air. It's the professional solution, and the contamination rates reflect that.
I built my flow hood from a second-hand HEPA filter unit (£80 from a decommissioned cleanroom) and a plywood box with a fan (£40 in materials). Total cost: about £120, plus a weekend of woodworking. You can buy commercial units for £300-600. Since switching to the flow hood, my inoculation contamination rate dropped from 5-7% to under 1.5%.
Inoculation Contamination: SAB vs Flow Hood
Laminar flow hood (12 months, ~160 bags): 1.4% contamination
Same grain, same sterilisation, same inoculant types, same operator.
If you're doing fewer than 10 bags per month, a SAB is perfectly adequate. If you're scaling up, a flow hood is the single best investment you can make. The reduction in contamination pays for the hood within a few months at any reasonable production volume.
SAB Spray-Down Protocol
Before every SAB session, I spray the interior thoroughly with 70% isopropyl alcohol and let it sit, sealed, for 10 minutes. The alcohol kills surface contaminants and the settling time lets airborne particles drop. Then I open the arm holes, place my materials inside, seal the holes around my arms, and wait another 30 seconds before starting work. This spray-and-settle protocol cut my SAB contamination rate from 8% to under 6%. Small improvement, but free.
Liquid Culture Inoculation
Liquid culture (LC) is my preferred inoculation method for most situations. It's fast, distributes evenly through the grain, and colonises from multiple points simultaneously. A well-made LC syringe can inoculate 10+ bags from a single 10 ml culture.
Volume: 5-10 ml Per Bag
For a standard 1.1 kg (dry weight) grain bag, I use 8-10 ml of liquid culture. I've tested volumes from 3 ml up to 20 ml, and the sweet spot is 8-10 ml. Below 5 ml and you have too few inoculation points. the mycelium starts from just 2-3 spots and takes significantly longer to colonise the full bag. Above 12 ml and you're adding unnecessary moisture to the grain, which can create wet spots around the injection sites.
LC Volume vs Colonisation Time (1.1 kg bags)
5 ml LC: 13-17 days, 4-5 inoculation points
8 ml LC: 10-13 days, 6-8 inoculation points
10 ml LC: 9-12 days, 8-10 inoculation points
15 ml LC: 9-12 days, 10+ points but added moisture, slight bacterial risk
20 ml LC: 8-11 days, excessive moisture, 9% contamination vs 3% at 10 ml
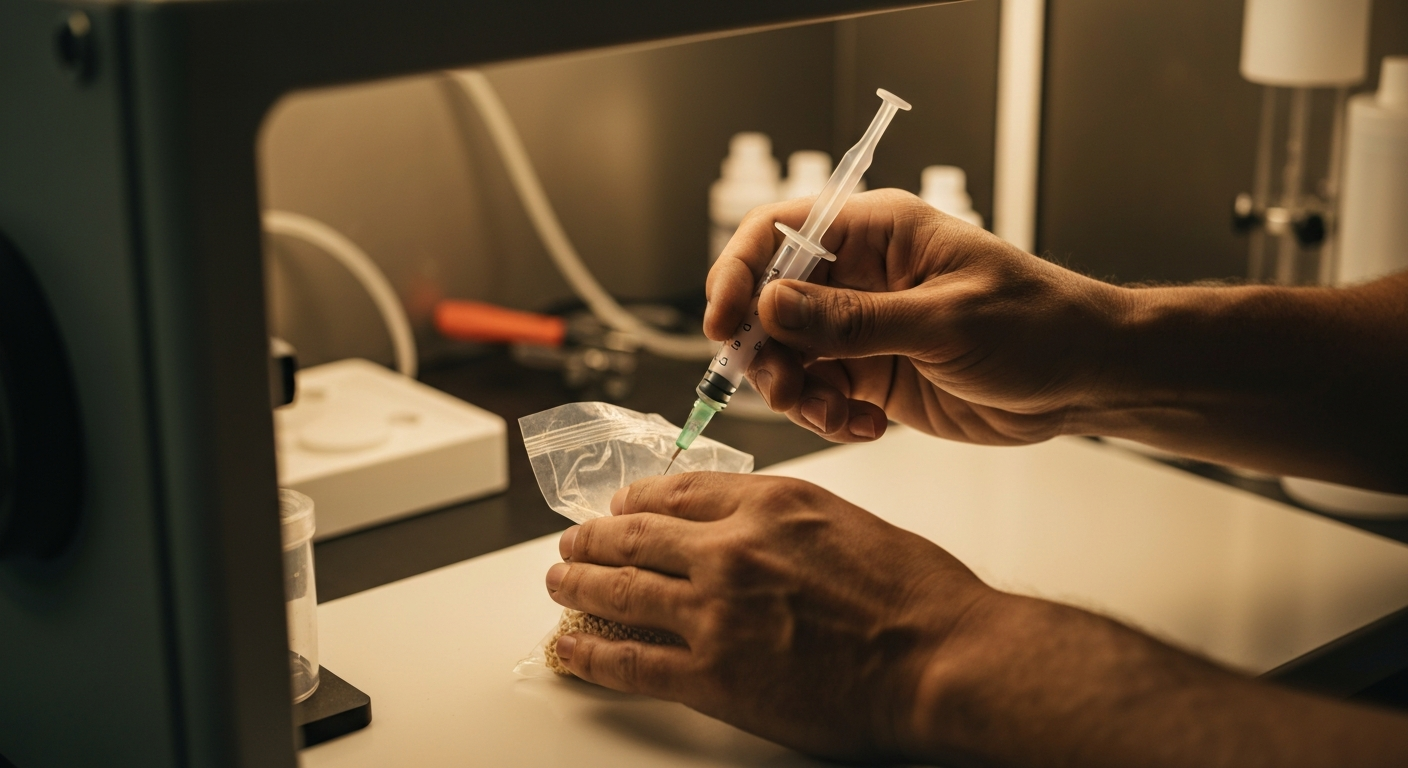
Injection Technique
I use an 18-gauge needle on a 10 ml syringe. The technique is straightforward:
- Flame-sterilise the needle until it glows red. Let it cool for 3-4 seconds (don't touch anything with it while cooling).
- Wipe the injection port on the bag with a 70% isopropyl alcohol swab. Let it dry for 5 seconds.
- Pierce the injection port (or self-healing injection site) and inject 8-10 ml of LC. As you inject, angle the needle in different directions to distribute the culture across multiple areas of the grain mass. I typically inject 2-3 ml, redirect, inject another 2-3 ml, redirect again, and finish with the remaining volume.
- Withdraw the needle smoothly. If using a self-healing port, it will seal itself. If injecting through micropore tape, cover the puncture with a fresh piece of tape immediately.
The entire injection takes about 15 seconds per bag. With practice, you can inoculate 5 bags in under 3 minutes, including needle flame-sterilisation between each bag.
Shake After Inoculation
Immediately after injecting, give the bag a gentle but thorough shake for 10-15 seconds. You're distributing the liquid culture throughout the grain mass, maximising the number of inoculation points. The more evenly distributed the LC, the faster and more uniform the colonisation. Don't be violent with it. you don't want to damage the grain. but be thorough.
Agar Wedge Transfers
Agar-to-grain transfers are slower than LC but offer one significant advantage: you can visually verify the health and purity of the culture before transferring. With LC, you're injecting a liquid that you hope is clean. With agar, you can see exactly what you're putting into the grain.
When to Use Agar
I use agar transfers when working with a new culture for the first time, when I want to isolate a specific sector of growth from a multispore germination, or when I suspect my LC might be contaminated and need a clean backup. Agar is also how I maintain my culture library. I have dozens of species and strains on agar slants in the fridge, each one visually verified as clean.
The Transfer
You'll need a scalpel or inoculation loop, a flame source, and your agar plate. Working in your SAB or flow hood:
- Flame-sterilise the scalpel until it glows. Let it cool briefly. 5-8 seconds.
- Cut a wedge of colonised agar, approximately 1 cm square. You want a piece with healthy, leading-edge mycelium. not the centre of the colony (which is older growth) and not uncolonised agar.
- Open the grain bag just enough to drop the wedge in. Minimise the opening size and the time the bag is open. I aim for under 5 seconds of exposure.
- Seal the bag immediately. If using an impulse sealer, seal. If using a fold-and-clip method, fold and clip.
- Shake gently to distribute the wedge into the grain.
Colonisation from an agar wedge takes longer than LC because you have a single inoculation point rather than multiple distributed ones. Expect 14-18 days for full colonisation of a 1.1 kg bag from a single wedge. You can speed this up by transferring 2-3 wedges per bag, but that means more time with the bag open, which increases contamination risk. I generally use one wedge and accept the longer timeline.
Grain-to-Grain Transfers
Grain-to-grain (G2G) is the workhorse expansion method. Once you have one fully colonised bag of grain, you can use it to inoculate 5-10 more bags. It's how you scale from a single syringe of LC to dozens of bags without buying more culture.
The Method
Take a fully colonised bag. every grain should be visibly covered in mycelium with no uncolonised spots. Break it up by massaging the bag (the colonised grains will be stuck together in a solid block). Once the grains are separated and loose, open both the colonised bag and a fresh sterile bag in your SAB or flow hood, and pour roughly 100-150 g of colonised grain into the fresh bag. That's about a generous handful. roughly 10% of the fresh bag's grain mass.
Seal the fresh bag, shake thoroughly to distribute the colonised grains, and you're done. The colonised grains act as hundreds of tiny inoculation points throughout the fresh grain mass. Colonisation is fast. typically 7-10 days for full colonisation, which is faster than LC and significantly faster than agar.
G2G Expansion Ratios
Colonisation time (G2G): 7-10 days
Colonisation time (LC, 10 ml): 9-12 days
Colonisation time (agar wedge): 14-18 days
G2G generation limit before refreshing from clean culture: 3-4 generations
Generation Limit
Don't run G2G transfers indefinitely. Each generation accumulates senescence (genetic ageing) and increases the risk of contamination transfer. I refresh from clean liquid culture or agar every 3-4 generations. If you notice colonisation slowing, mycelium looking thin or wispy, or an increase in contamination, you've probably pushed your culture too far. Go back to a clean source.
The Risk
G2G transfers involve opening two bags simultaneously and pouring grain from one to the other. That's a lot of exposure. In a flow hood, it's manageable. the filtered air keeps the working area clean. In a SAB, G2G is significantly riskier than LC injection because of the extended open time. My SAB contamination rate for G2G was roughly 10%. nearly double my rate for LC injection in the same box. In the flow hood, it drops to about 2%.
If you're working in a SAB and need to do G2G transfers, work fast and don't do more than 3-4 bags per session. Each successive transfer increases the contamination risk because you're repeatedly opening the colonised source bag, giving contaminants more opportunities to enter.
Sterile Technique Fundamentals
Regardless of which inoculation method you use, the fundamentals of sterile technique apply to all of them.
Clean Yourself First
Wash your hands and forearms thoroughly with antibacterial soap. Dry with a clean towel (not the one hanging in your kitchen). Spray your hands and forearms with 70% isopropyl alcohol. If you have long hair, tie it back. If you've been in the garden, around pets, or handling soil, shower first. I know this sounds extreme, but human skin and hair are among the most prolific sources of airborne contaminants in any indoor environment.
Clean the Environment
Wipe down every surface you'll use with 70% isopropyl alcohol. This includes the area around your SAB or flow hood, the surface where you'll place inoculated bags, and any tools or containers. Close windows and doors. Turn off fans, heating, and anything that moves air. If possible, work in the cleanest, most still room available. Bathrooms (recently cleaned) and spare bedrooms work surprisingly well because they tend to have less traffic and fewer airborne contaminant sources than kitchens or living rooms.
Flame Sterilise Everything
Any tool that will contact sterile substrate or culture must be flame-sterilised immediately before use. Needles, scalpels, inoculation loops. heat them until they glow red. This isn't optional and it isn't just a formality. A needle that touched the edge of the bag opening, picked up a single bacterial cell, and then injected that cell into the grain will give you a contaminated bag. Flame it every time.
Work Fast, Move Slow
This sounds contradictory but it's the key insight of sterile technique. Minimise the time any bag is open (work fast). But move your hands slowly and deliberately to avoid creating air turbulence (move slow). Speed comes from preparation and practice, not from frantic hand movements. Have everything laid out and within arm's reach before you start. Know exactly what you're going to do before you open the first bag. Then do it calmly and efficiently.
The 10-Second Rule
I aim to have no bag open for more than 10 seconds during inoculation. For LC injection, this is easy. inject and withdraw in 5 seconds. For G2G, it's tighter. pour and seal in 8-10 seconds. For agar wedges, it takes practice to get below 10 seconds, but it's achievable. Time yourself for your first few sessions. You'll be surprised how long 10 seconds feels when you're focused.
When to Inoculate
Timing matters more than most people realise. There are two aspects: when during the day and when relative to sterilisation.
Time of Day
I inoculate first thing in the morning. The house is quiet, no one is moving around creating air currents, and I'm fresh and focused. My contamination rates for morning inoculations are measurably lower than for evening sessions. by about 1.5 percentage points. That's probably down to fatigue and the fact that by evening, the house has been lived in all day (cooking, movement, doors opening and closing) and the ambient spore load is higher.
Relative to Sterilisation
Inoculate as soon as the bags are cool enough to handle. For overnight cooling, that means the morning after the PC run. Don't leave sterile bags sitting around for days. Every day a bag sits unsealed in your environment is a day that contaminants can find their way in through the filter patch, around imperfect seals, or during handling. My rule: sterilise one evening, inoculate the next morning. Bags never sit for more than 16 hours between cooling and inoculation.
If you can't inoculate the next day, the bags will keep for 2-3 days. they're sealed and the filter patch is a barrier. But the longer they sit, the more opportunities for contamination. Treat sterile bags like a perishable product. Use them promptly.