200+ Rye Bags.
Every Protocol.
Every Lesson.

I got fed up guessing about rye grain prep. So I started writing everything down. Soak times, PC durations, the batches that went green, the ones that came out perfect. This is all of it.

Lab notebook entries: 247

The Rye Bible

Six chapters covering everything I know about rye grain substrate after years of doing this. Sourcing, hydrating, sterilising, inoculating, monitoring, and fixing the things that go wrong. It's long. It's thorough. That's the point.

Experiment Logs

Not all of these went well. That's sort of the point. I log the failures just as carefully as the wins because the failures are where the useful bits hide.

Rye grain soaking in water during hydration test Hydration

Rye Hydration Test #47: 18h Soak vs 24h Soak at 15°C

Finding: 18h soak at 15°C hit the target 52% moisture without grain splitting. 24h pushed to 58% — too wet, burst kernels led to bacterial pockets during colonization.

52% Optimal MC
18h Soak Time
15°C Water Temp
Side-by-side comparison of whole rye and cracked rye grain Comparison

Moisture Content Comparison: Whole Rye vs Cracked Rye

Finding: Cracked rye absorbed water 40% faster but produced inconsistent moisture distribution. Whole rye required longer soak but delivered uniform 50-54% MC across the bag.

40% Faster Absorb
±8% Cracked Var.
±2% Whole Var.
Pressure cooker loaded with grain bags for sterilization Sterilization

Contamination Rate Study: PC at 15psi for 90min vs 120min

Finding: 90min at 15psi gave a 12% contamination rate over 30 bags. Extending to 120min dropped it to 2%. The extra 30 minutes saved 3 bags per batch on average.

2% Contam Rate
120m PC Time
15psi Pressure
Fully colonized rye grain bag with white mycelium Transfer

Grain-to-Grain Transfer Timing: Day 5 vs Day 7 vs Day 10

Finding: Day 7 transfers at 30% colonization gave the fastest full-bag colonization (14 days). Day 5 was too early — weak mycelium, 25% failure. Day 10 worked but added 3 days total.

Day 7 Best Window
30% Colonized
14d To Full Col.
Agricultural supply rye grain versus pet store grade rye Sourcing

Rye Source Comparison: Agricultural Supply vs Pet Store Grade

Finding: Agricultural supply rye (cleaned, graded) had 3x lower contamination than pet store rye. Pet store grain often arrived with visible dust, broken kernels, and inconsistent size.

3x Lower Contam
$0.85 /lb Ag Supply
$1.40 /lb Pet Store
Rye grain hydration process in winter conditions Hydration

Winter vs Summer Prep: Ambient Temperature Impact on Hydration

Finding: Winter preps at 10°C ambient needed 22h soak to reach 52% MC vs 16h in summer at 24°C. A simple formula: add 1h soak time per 2°C below 20°C.

+1h Per 2°C Drop
22h Winter Soak
16h Summer Soak

Core Techniques

These are the five things I do every single time now. Took me ages to settle on them. They're boring, they're repeatable, and they work.

  1. The Cold-Soak Method

    Forget boiling. A controlled cold soak at 12-16°C for 18 hours gives you consistent hydration without gelatinizing the starch layer. The grain stays intact, drains cleanly, and loads into bags without clumping.

    Protocol

    Water temp: 12-16°C
    Duration: 18 hours
    Ratio: 2:1 water to grain by volume
    Target MC: 50-54%
  2. The Dry-Surface Test

    After draining, spread a single layer of grain on a paper towel. If the towel stays dry after 60 seconds, your surface moisture is right. Wet towel? Drain another 15 minutes. This one trick eliminated 80% of my bacterial contamination.

  3. Pressure Cooker Loading

    Never fill bags more than 2/3 capacity. Leave a fist-sized air pocket at the top, fold the bag over twice, and secure with a single layer of micropore tape. Stack bags vertically in the PC with foil caps — never let bag filters touch liquid.

    Contamination Warning

    Overloading the pressure cooker is the #1 cause of failed batches. If steam can't circulate evenly, you'll get cold spots — and cold spots grow trich. Leave at least 1 inch between bags.

  4. The Break-and-Shake Protocol

    At 30% colonization (typically day 7), break up the grain and shake vigorously for 30 seconds. This redistributes mycelium across thousands of new contact points. The bag should go from 30% to 100% in 7 days instead of 14.

    Pro Tip

    If your grain is too wet, it'll clump during the break-and-shake instead of separating freely. This is the moment where hydration mistakes become obvious. The grains should cascade like dry rice when you shake.

  5. Thermal Cycling for Stubborn Stalls

    When colonization stalls at 60-70%, a 12-hour cold shock (drop to 15°C) followed by return to 24°C can restart aggressive growth. The temperature differential triggers a metabolic response. I've recovered dozens of stalled bags this way.

One Grain. Infinite Variables.

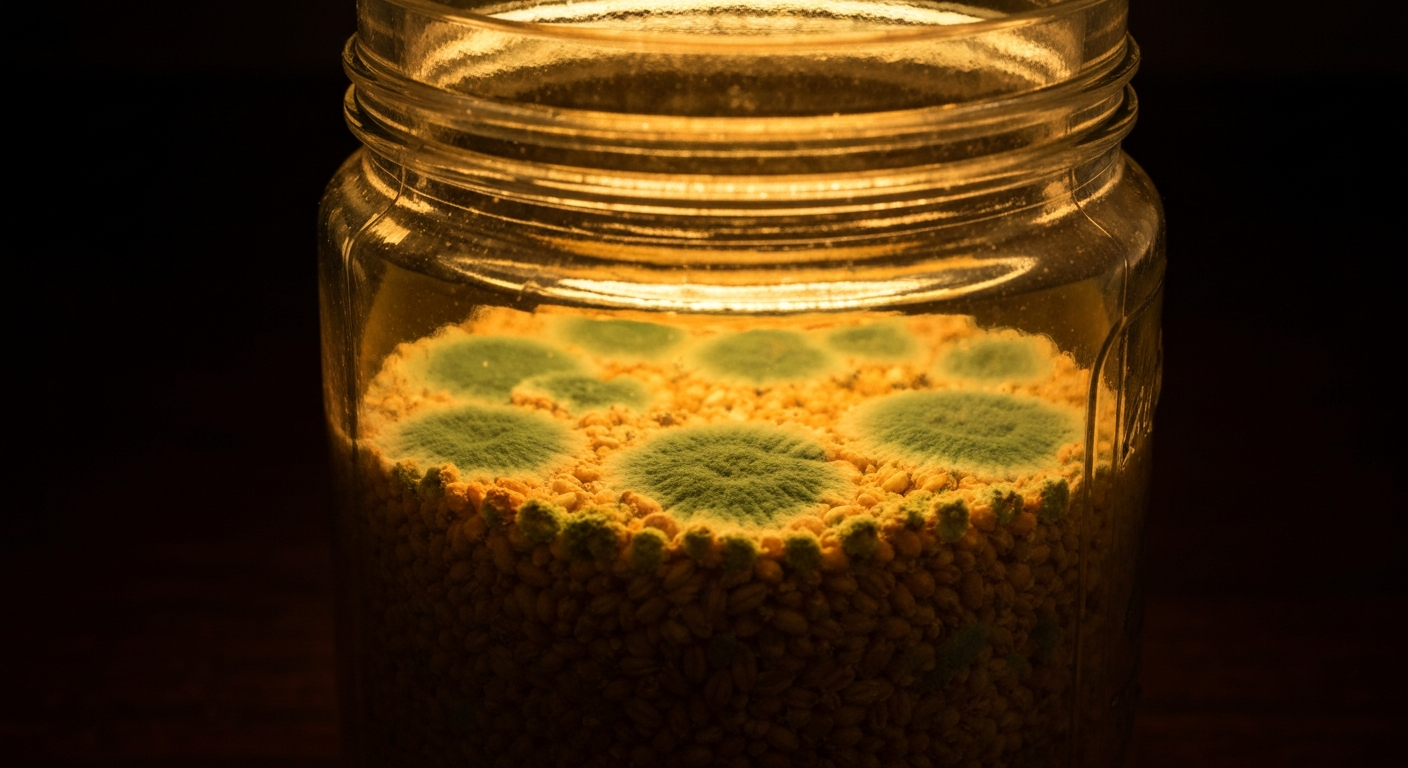
Change the water temperature by 3 degrees and you get a different moisture content. Soak 2 hours too long and the grain splits. Under-sterilise by 15 minutes and you'll find trich on day 5. I've made every one of these mistakes, usually more than once. This site exists so you can skip the painful parts and go straight to the protocol that works.

Quick Reference. Standard Rye Bag Protocol

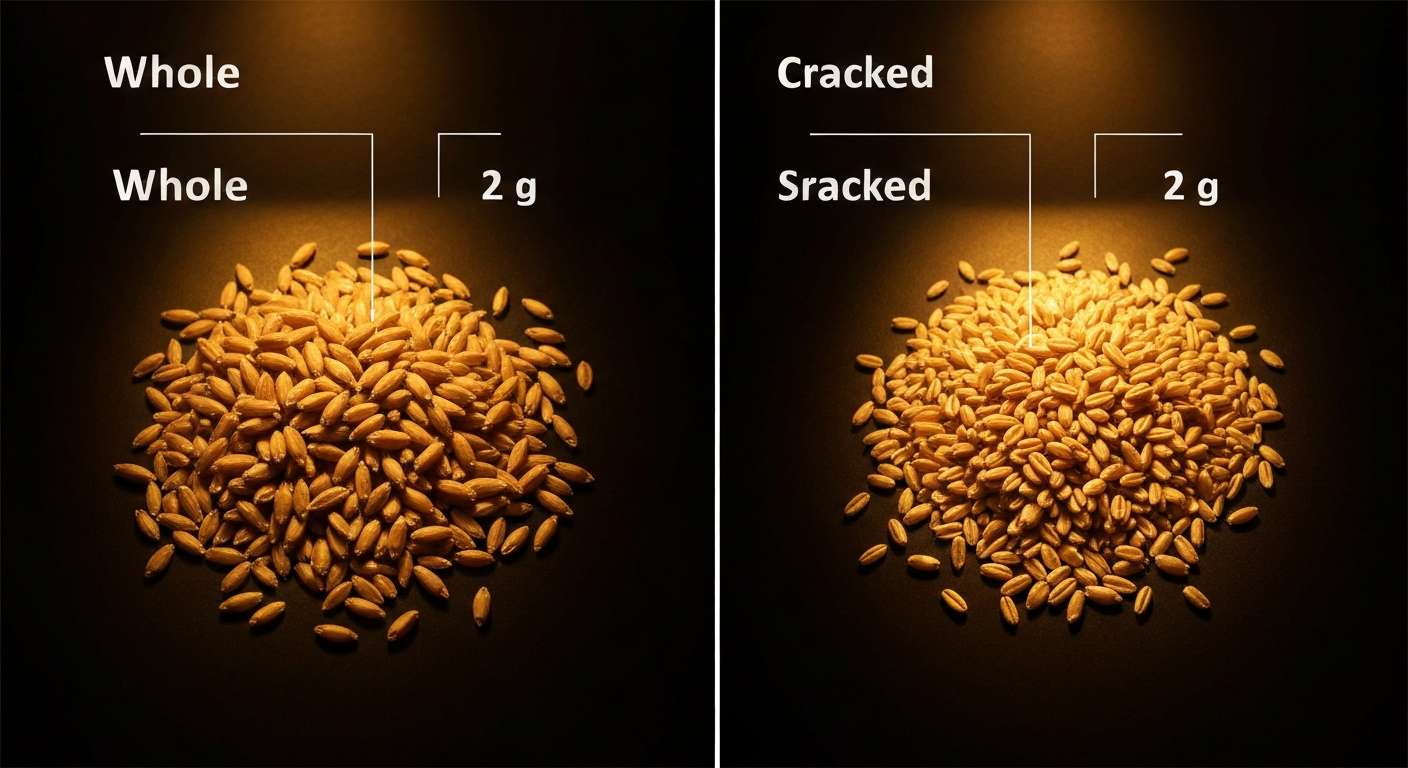
Grain: Whole rye berries, agricultural grade
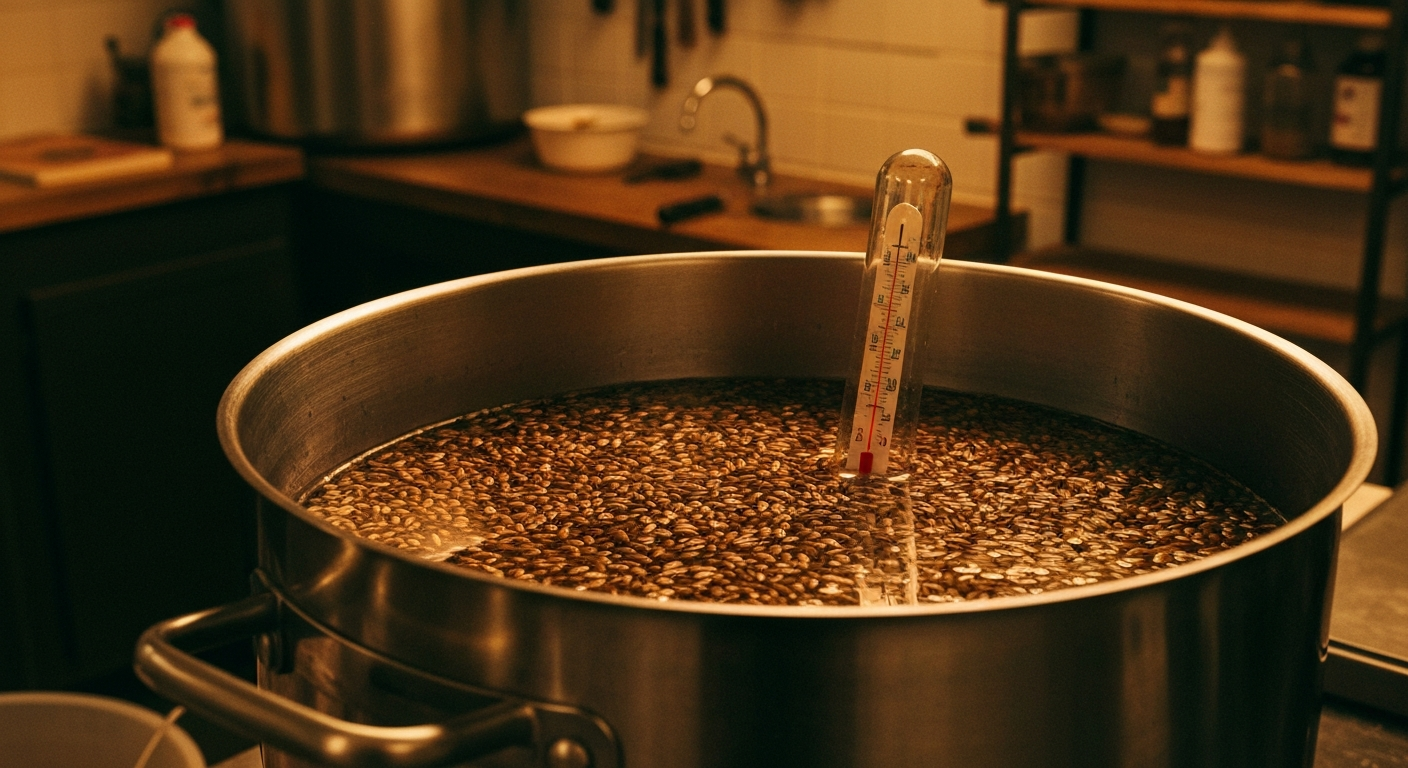
Soak: 18h at 12-16°C
Drain: Until paper towel stays dry (dry-surface test)
Load: 2.5 lbs per unicorn bag, 2/3 fill
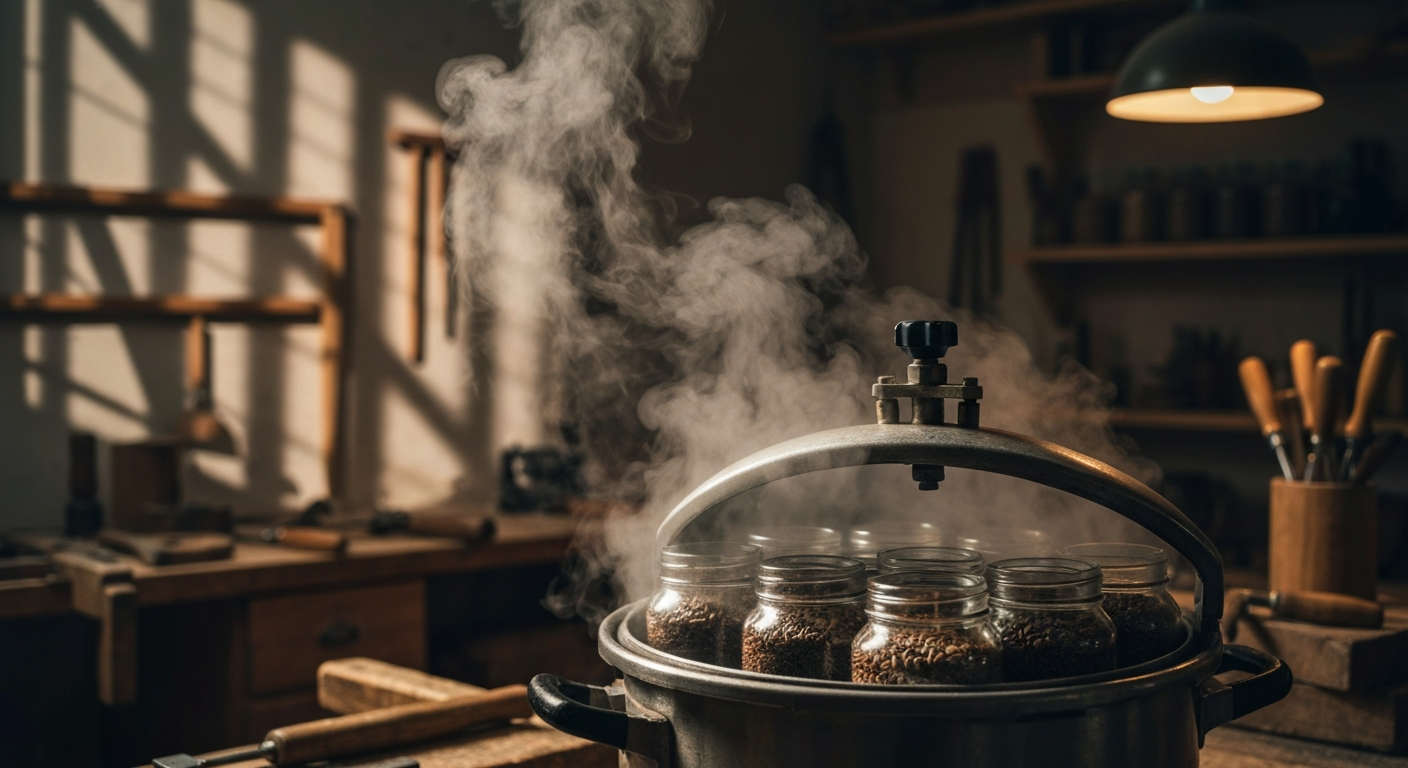
Sterilize: 15 psi for 120 minutes
Cool: Overnight to room temp (do not rush)
Inoculate: 5-10 mL liquid culture or 1 tbsp grain spawn
Incubate: 24°C, darkness, gentle FAE
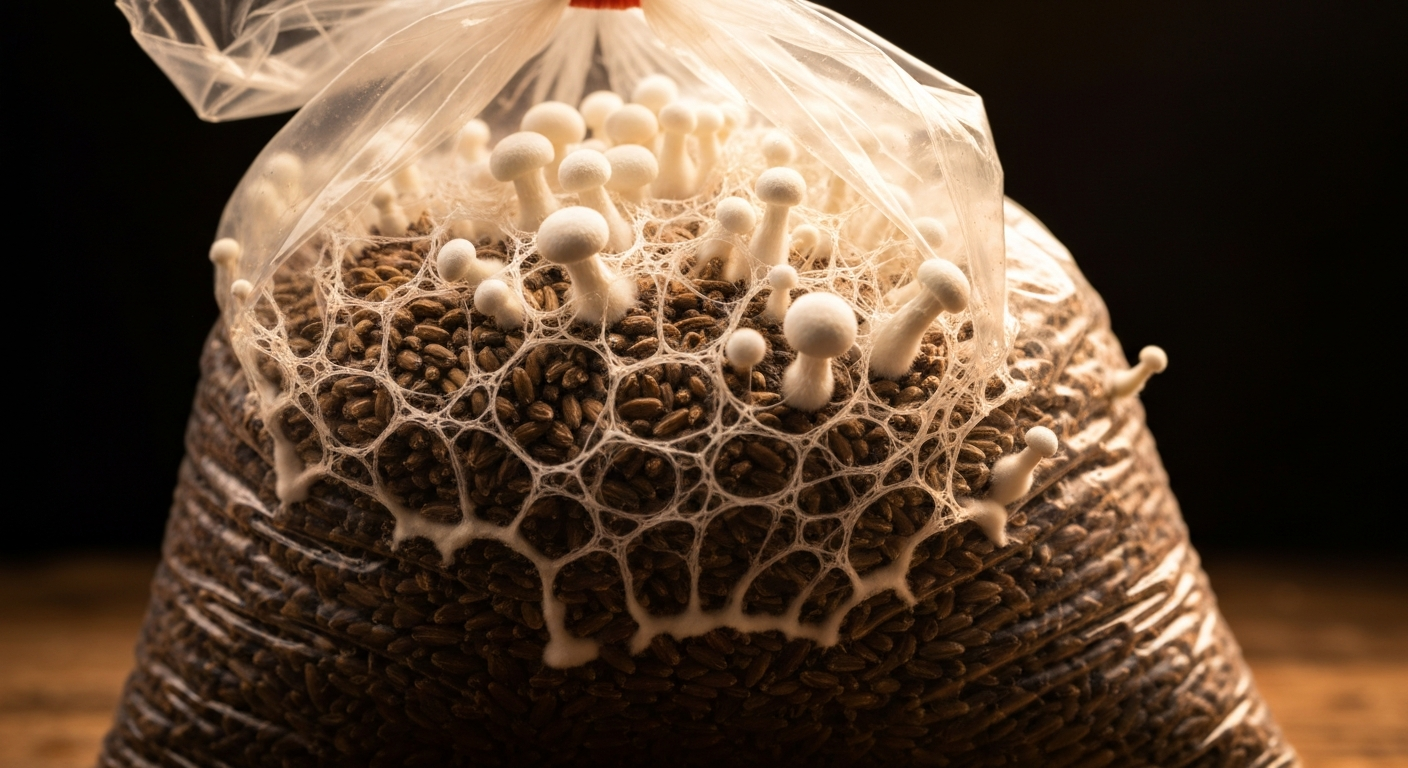
Break & shake: Day 7 at 30% colonization
Full colonization: 14-18 days typical